Learn the Best Methods to Convert OST to EML on Windows
You might be aware that MS Outlook stores data in OST files and they cannot be accessed outside their parent system. While EML files are a widely flexible file format, accessed across various email platforms. Therefore, Outlook users who often need to access their email data from different locations or different devices convert OST to EML. This blog aims to guide users through the process of converting OST file formats to EML.
Wait! Before we jump into the procedure section, here are the advantages of converting OST to EML.
Need to Convert OST Files to EML Format
————————————
Due to the security issue of the Exchange Server and the possibility of accidental deletion, users convert OST to a more secure and compatible file format. Here are some of the benefits of EML files that attract users:
- EML files serve as a standard format compatible with most email clients like Outlook, Thunderbird, and Windows Live Mail.
- To access Outlook data on a device that doesn’t have Outlook installed.
- For importing your Outlook email data into an alternative email client
- EML files offer a more portable and versatile backup solution than OST files
Moving to the next section, that is the procedure to transfer Outlook OST to EML file format.
Free Manual Process to Convert OST to EML
————————————
Converting OST to EML manually is a multi-step process that may take more work. However, if you’re willing to undertake it, here’s a guide to help you through each stage. This process is applicable when the OST file is linked to the Exchange Server. Follow the procedure mentioned below to export OST Files to EML.
Step 1: Setting up Gmail in Outlook
Firstly, add your Gmail account to Outlook to export OST files to Gmail. Follow the steps:
- Log in to your Gmail account.
- Navigate to the Settings.
- Click on the “Forwarding and POP/IMAP” tab.
- Enable IMAP and save the changes.
- Visit https://myaccount.google.com/.
- Click on Security and enable Less secure app access.
- Launch MS Outlook.
- Click on the File tab and then, click on the Add Account
- Enter your Name, Email, Password, and Retype Password, and click Next.
- Hit the Finish
Step 2: Transfer Emails to Gmail
- Right-click on the Gmail mailbox and choose New Folder.
- Assign a name to the folder and select the emails you want to import.
- Drag the selected emails and drop them into the new folder.
Step 3: Configure Gmail with Thunderbird
- Launch Mozilla Thunderbird.
- Go to Tools >Options.
- Click on Account Settings, then choose Account Action, and click Add Mail Account.
- Enter your Name, Email, and Password, and click Continue.
- Select IMAP and click Done.
Step 4: Export Emails as EML Files from Thunderbird
- Click on the Gmail mailbox and select the emails you want to export (use CTRL+A to select all).
- Drag the selected emails and drop them into the Thunderbird interface.
- All emails will automatically convert to the EML format.
Downsides of the Native Method
- The above-mentioned method is not applicable in the case of disconnected OST files.
- It is a complicated process, users may face difficulties while performing this approach.
- There is a high risk of data loss using the above approach.
- It may also disrupt the data hierarchy during the process.
To avoid these difficulties faced in the manual methods users seek a more straightforward solution, consider exploring the alternative method mentioned below. They can save you time and effort.
Instant Solution to Convert OST to EML
————————————
If you fear data loss or other limitations of the manual approach, here’s a quick safe solution. OST to PST Converter is an all-in-one utility to convert any number of OST files to EML and other file formats. The tool efficiently migrates OST files to Office 365, Gmail, Yahoo Mail, Thunderbird, AOL, Hotmail, and many other email clients. Furthermore, the tool is easy to use, migrates OST files fast, and has various innovative features for smooth migration.
Key Features of OST to PST Converter Tool
- Allows you to select and convert any number of OST files at once.
- Convert OST to PST, MBOX, PDF, CSV, GIF, JPG, etc.
- Enables users to Remove duplicate emails based on certain criteria.
- You can backup emails without attachments or save them into PDF files.
- Date Filter exports specific emails as per the set date range.
- Runs efficiently on all versions of Windows OS.
- It also enables a Custom Folder feature option that helps to save the resultant file with the desired name.
- This method also facilitates saving the attachments separately in a PDF file format.
The following section discusses how to convert OST files to EML format using the ME OST to PST converter.
Convert OST to EML Using the Tool
Follow the steps directed below:
- Launch the OST to PST Converter Tool on your system.
- Add OST files to the tool and click on Next.
- Select the necessary items you want to convert. And hit Next.
- Expand the list of File formats and choose EML from the list.
- Apply other filters provided for a compact backup file.
- Click on Convert to export OST files to EML.
Thus, this is one of the efficient and safest ways to convert OST files to EML format or any other file format. For your information, there is a free demo version of the tool so that users can understand the functioning of the tool before purchasing the premium version.
Conclusion
In today’s digital age email messages are important for everyone and no one wants to lose even a little bit of data. Therefore, users always keep a backup file to restore data in case of accidental deletion or system crash. Hence, we suggest, that you convert OST to EML without disrupting your original data using a dedicated OST to PST converter.
Frequently Asked Questions
————————————
1. Can I export OST file data to Windows Live Mail?
Ans: Yes, you can easily import OST file data to your Windows Live Mail by converting the OST files into EML format. After the conversion, you can easily access the data in Windows Live Mail.
2. How do I batch convert the OST files to EML format easily?
Ans: If you have multiple OST files, then you can opt for the professional OST to PST Converter Tool to convert their OST files into EML format. The professional tool also prevents any kind of data loss.
3. How to Convert Outlook OST Files to EML Format Manually?
Ans: You can follow the below-mentioned steps carefully.
- Enable IMAP in your Gmail account and then configure your Outlook account with Gmail.
- After that transfer the emails to your Gmail account.
- Now, again configure your Gmail account with Thunderbird.
- Choose the desired Gmail mailbox data and Drag and Drop it Thunderbird.
- Lastly, export your EML files from the Thunderbird account.
Using the above process, you can easily transfer your OST file data to your EML account.
4. How can I Convert an Orphan Outlook OST file in EML?
Ans: Accessing an orphan OST file data can be difficult. However, a professional OST to PST Converter tool can be beneficial in converting OST files to EML, so that users can easily view the OST file data.


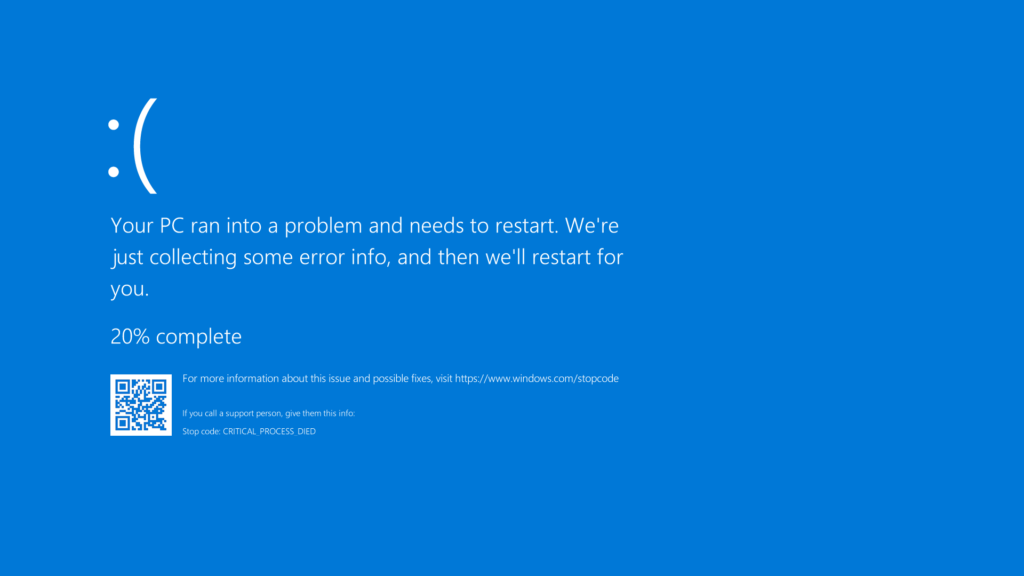 What we commonly call the Blue Screen of Death is known as the fatal system error or the stop error in our Windows laptop or computer. Users encounter this error when the Operating System crashes, which means the system ran into some kind of an error that prevented the system from running it securely. When the BSOD Error occurs, the OS displays a blue screen with the error code for that particular error which is responsible for stopping the program or
 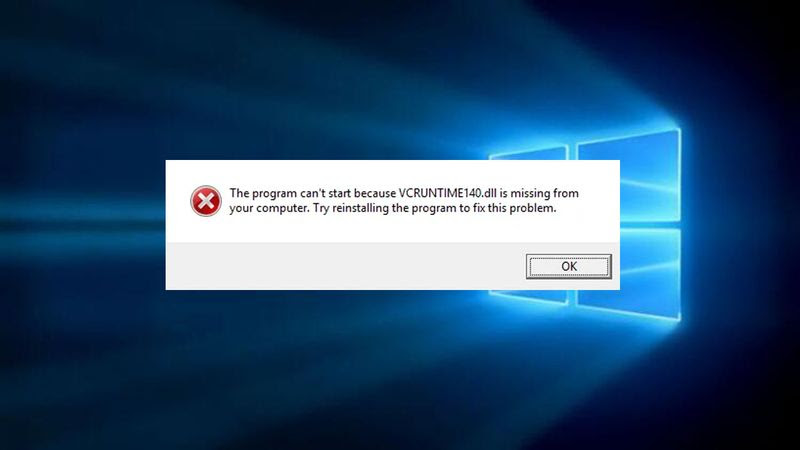 A .DLL error refers to any DLL file that has the .DLL Extension in your system. This particular error is consistent in Windows Operating Systems, right from Windows XP, Windows Vista, Windows 7, Windows 8, to the recent versions of Windows 10. DLL type of error is particularly troublesome for your system and yourself because there are countless files in your system with the .DLL extension. Given below are some of the common troubleshooting methods for frequently occurring .DLL Errors. You can also try searching the internet with the specific type of DLL file and error code you encounter.
 Arrangement:
 Any user can follow the steps given below to determine why their computer device is running slow and what they can do to fix it. Please note that this list will only cover the basics of Why a computer is running slow and not the problem of why a computer starts slow or has a weak internet connection. A beginner step to taking care of this error can be to Reboot the device completely. If any device has not been Rebooted in a long time, Rebooting it can usually solve the errors.
 Arrangement:
 For instance: Software continues slamming, missing documents, or runs moderately.
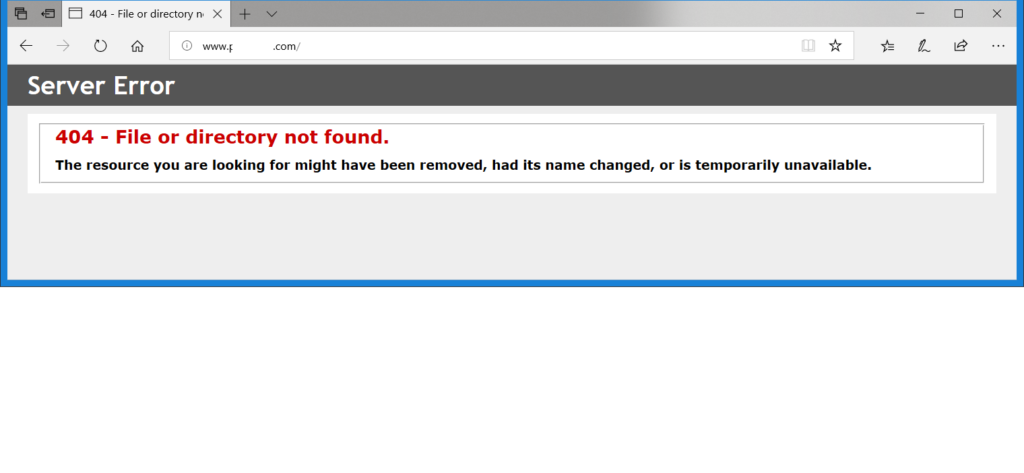
 Determining if your Computer is running hot and overheating can be fairly easy. But an overheating PC can be a sign of trouble. The user should never ignore an overheating PC, as it can cause much more trouble later on. Excessive Heat can slow down your computer device, and in some cases, it can also lead to a total shutdown and data loss of the whole system. Below, you will get to know about the ways in which you can avoid overheating your desktop or laptop and keep it running smoothly and efficiently.
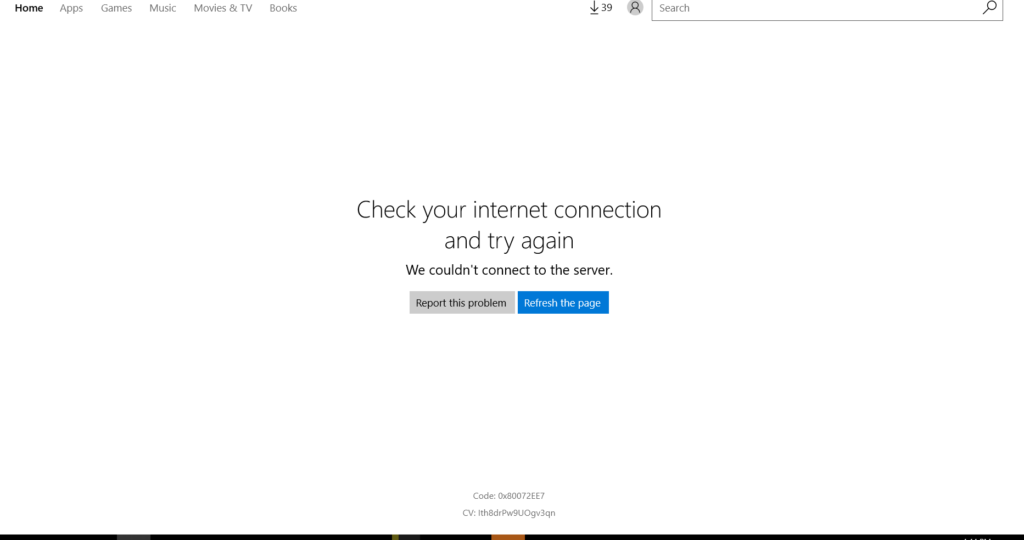 Nothing is more annoying than having a great Wi-Fi router with a good internet or ethernet connection, with exceptionally slow internet speeds. Every user must have encountered this problem at least once in their life, and when they do, they always wish for it to magically disappear. While we can’t come down and fix this issue ourselves, we can try and suggest some tips and tricks for you to fix and troubleshoot your lethargic internet connection and offer you some solace in your tough times!