Angular HTTP Interceptors

Introduction
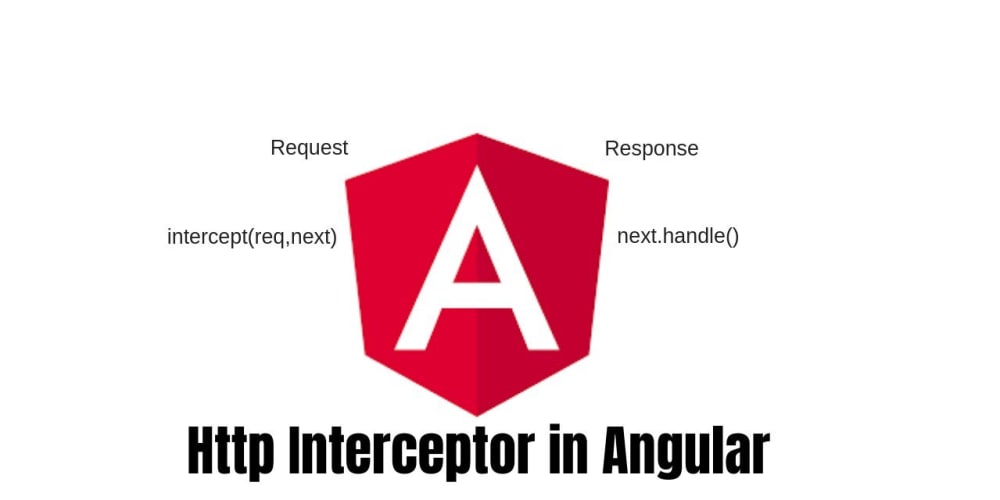
As the name indicates, interceptors in Angular are a simple procedure delivered by the framework to intercept and modify the application’s HTTP requests globally before they are sent to the server. That comes in handy, allowing us to configure authentication tokens, add logs of the requests, add custom headers that our application may need, and much more. Being among the significant Angular features, interceptors seamlessly simplify the App requests at ease.What are HTTP interceptors?
What are HTTP interceptors?
- Interceptors can represent a variety of implicit tasks, from authentication to logging, in a procedure, standard way, for every HTTP request/response.
- Without interception, developers would have to apply these tasks precisely for each HttpClient method call.
Usage of HTTP interceptors
- HTTP interceptors are used for attaching custom logic for authentication, authorization, session/state management, logging, modifying Response, Error handling, caching, inserting a custom header, timestamp in the request/response, encrypt and decrypt the request and response information or operate the request and response data above the request cycles.
Implementing interceptors
- To implement an interceptor, you need to create a class that implements the intercept method of the HTTP Interceptor interface.
- So let’s suppose you want to log in to the console for every single HTTP request made by the application.
- Below, I have created a simple interceptor that would achieve the following.

- The intercept method converts each request into observables, which later are going to be set by calling next. handle().
- So, for our implementation it is totally easy:
– You take the request,
– log its URL
– call next.handle()
– and send it to the server without making any changes to it.
- The next object represents the next interceptor in the interceptor chain since you can have multiple interceptors in your application.
- Then the final next in the chain is the HttpClient backend handler, which sends the request to the server.
Providing the interceptor
- Since interceptors are dependencies of the HttpClient, you must add them to providers in the same injector (or parent) that provides Httpclient.
- For instance, suppose you have your HttpClientModule imported in the app.module.ts, you must add the interceptors to the providers there as well.

- The multi: true option gave tells angular that you are applying multiple interceptors and is needed if that is the scenario.
- It wouldn’t be necessary in our example scenario, since we’ve only implemented one interceptor, so I’ve applied it just to highlight this bit of information.
- It is also important to have in mind that angular applies interceptor in the order that you have provided them in your module’s providers.
- Now when we make an HTTP request, the user’s token will be attached automatically.

- This request will include an authorization header with a value of Bearer…
- It should be pointed that Angular’s new HttpClient from @angular/common/HTTP.
- When we try making requests using traditional HTTP class, the interceptor won’t be hit.
Looking for Unauthorized Responses
- When the token expires we will generally get a 401 Unauthorized response back from the server.
- This provides us a mark that we need the user to log in again to take a new token.
- We have some options to make at this position. Do you want to redirect to a particular route that has a login form? Do we want to show a modal? Do we want to try to restore the token?
- Either way, we need to set up the interceptor to handle responses.
- The
interceptmethod returns an observable which implies we will capture the success and error channels for a response and care for them however we like. - This is that the ideal place to try does of the logging we’d have to do.
- We can even check for
401 Unauthorizedresponses and prompt the user to log in again.

- This is also a prominent point to cache any failed requests.
- This comes in first if we have token refreshing in place and we want to retry the requests when we have a new token.

- The
collectFailedRequestsmethod can now be used in the interceptor.

- With this in the
situation, we have the possibility of calling
retry Failed Requestsafter the user’s token is refreshed to trigger off the previously-failed requests. - This is just a small introduction that can help to substantially improve UX, largely if you have tokens with a very short existence.
Conclusion
Using interceptors can be very helpful for multiple aims on all types of applications. Hence it is important to know how it works and what you can accomplish with it to be able to apply it whenever you might require it.


